
Description
Understanding the various parts of a CPR manikin is essential for effective training and maintenance. Here’s an overview of the key components:
1. Head and Face
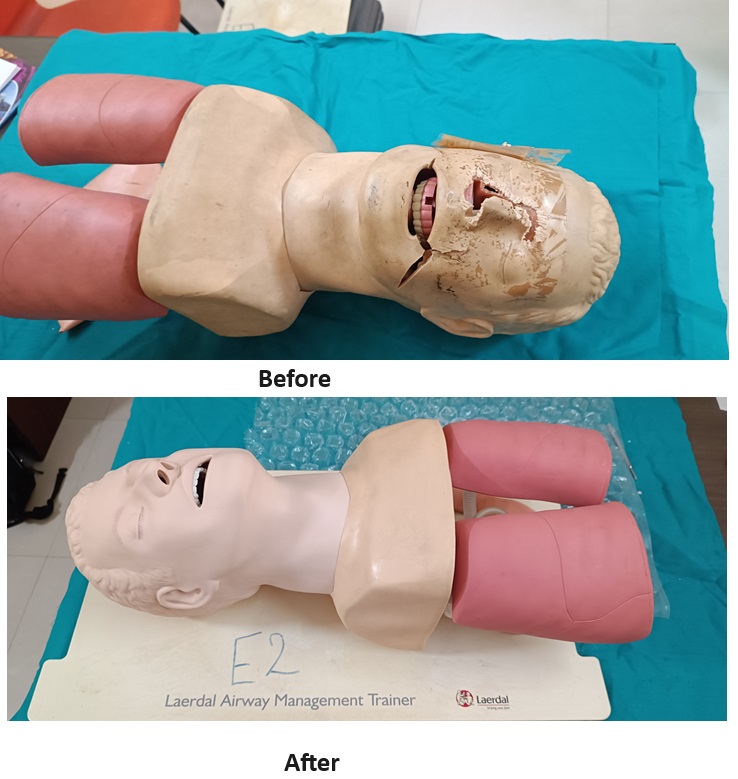
- Head: The head of the manikin is designed to simulate realistic human anatomy, allowing for proper head-tilt and chin-lift maneuvers necessary for opening the airway.
- Face Mask: Many CPR manikins have removable or replaceable face masks. These are designed for hygienic purposes, allowing multiple users to practice mouth-to-mouth resuscitation safely.
- Airway System: The airway system, often integrated within the head, allows for realistic airway management. Some manikins have mechanisms to simulate airway obstruction or provide feedback on correct airway positioning.
2. Chest and Torso
- Chest Plate: The chest area is typically reinforced with a chest plate or ribs, which simulates the human rib cage. This area is crucial for practicing chest compressions and allows learners to feel the resistance similar to what they would encounter in real life.
- Compression Sensor: Advanced manikins may include sensors in the chest area to provide feedback on the depth and rate of compressions, helping users ensure they are performing CPR correctly.
- Lungs or Lung Bag: Inside the torso, manikins often have a disposable or replaceable lung bag. This bag inflates when breaths are delivered, simulating the rise and fall of the chest during respiration.
3. Abdomen
- Abdominal Cavity: Some CPR manikins feature an abdominal area that can be used to simulate abdominal thrusts (Heimlich maneuver). This area is typically softer and more flexible than the chest.
4. Arms and Legs
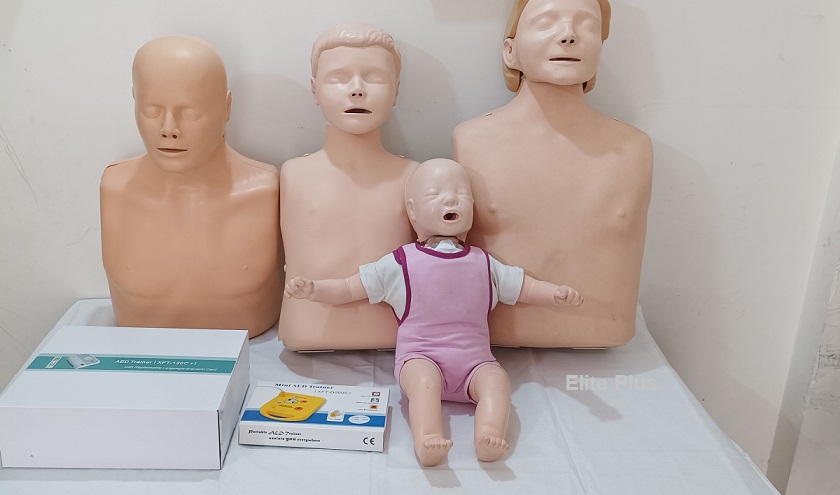
- Limbs: While basic CPR manikins may not include limbs, more advanced models often have detachable arms and legs. These limbs may be used for additional training, such as checking pulses or practicing IV insertions.
5. Skin and Outer Cover
- Skin: The outer skin of the manikin is made from durable, skin-like material that provides a realistic feel. It’s designed to withstand repeated compressions and other training activities.
- Outer Cover: Some manikins come with a removable outer cover or clothing, which can be used for hygiene purposes or to simulate different training scenarios, such as removing clothing to access the chest.
6. Feedback Mechanisms
- Lights and Sounds: Many modern CPR manikins are equipped with lights, sounds, or digital interfaces that provide immediate feedback on the quality of compressions and ventilations. This feedback helps trainees adjust their techniques in real-time.
- Electronic Display: Some advanced manikins have an electronic display that shows detailed metrics like compression depth, rate, and ventilation effectiveness.
7. Base or Stand
- Base: The base of the manikin is often weighted to keep it stable during training. Some models may have a flat base that lies directly on the floor, while others might include a stand or platform for elevated training scenarios.
8. Internal Components
- Mechanisms: Inside the manikin, various mechanisms simulate the human body’s response to CPR, including spring-loaded components for chest compressions and valves for airway management.
- Electronic Components: For manikins with advanced features, internal electronics monitor and record CPR performance, allowing for data review and analysis after the session.
9. Port or Access Point
- Maintenance Ports: Some manikins have ports or access points for maintenance, allowing instructors to adjust settings, replace internal components, or connect to external devices like computers or feedback monitors.
10. Replaceable Parts
- Consumables: CPR manikins typically have parts that need regular replacement, such as face shields, lung bags, filters, and sometimes even skin coverings. Keeping these parts in stock ensures the manikin remains functional and hygienic for repeated use.
Understanding these parts helps ensure that users can maximize the effectiveness of CPR training and properly maintain the manikin, ensuring it provides accurate and realistic practice for life-saving skills.
By following these guidelines, you can extend the lifespan of your CPR manikins, ensure they provide accurate training experiences, and maintain a hygienic environment for all users.
Reviews
There are no reviews yet.